Jekyll + GitHub Pages + Forestry.io
I’ve recently migrated the jetthoughts.com website on Jekyll to Forestry.io. I’d like to share my process with you, as well as a few tips about building a Jekyll site with GitHub Pages and Forestry.io.

The Advantages:
All tools and services is free
Ability to write content in Markdown or YML
Lightweight, fast, and server-less
Easy to use
For whom it is necessary
A novice developer or writer who has little knowledge and a small stack of technology but wants to create their own website with the ability to maintain.
YML or Markdown
To get started, you need to make sure that all the content that you want to respond to is in static files.
    description:
      title: Careers
      description: Become A Part of JetThoughts Team
    careers:
      title: We are looking for
      subtitle: ''
      vacancies:
      - label: Software development
        name: Node.js developer
        location: Ukraine
        additional_location: Remote
        remote_allowed: true
        hot: true
        details:
        - heading: Skills
          fields:
          - At least 2+ years of experience with Node.js
          - Experience with relational and non-relational databases
          - Passion about writing well designed, testable
          - At least an Intermediate level of English is a must
          - Understands how to provide Proactive communication
        - heading: Nice to have
          fields:
          - Experience working remotely
          - Experience working directly with English speaking Managers
          - Understanding of project design, microservice architecture
          - Experience with AWS S3
If not then you need to move step by step all the static content. To do this, you will need to use Liquid syntax to display and create lists with HTML markup.
    <div class="container">
      {% assign careers = site.data.careers.careers.careers %}  <h2 class="title">{{ careers.title }}</h2>
      <p class="description">{{ careers.description }}</p>  <ul class="list">
        {% for vacancy in careers.vacancies %}
          <li class="vacancy fade-right}">
            <h4 class="name">{{ vacancy.name }}</h4>
            <h5 class="label">{{ vacancy.label }}</h5>
          </li>
        {% endfor %}
      </ul>
    </div><h2 class="title">{{ careers.title }}</h2>
      <p class="description">{{ careers.description }}</p><ul class="list">
        {% for vacancy in careers.vacancies %}
          <li class="vacancy fade-right}">
            <h4 class="name">{{ vacancy.name }}</h4>
            <h5 class="label">{{ vacancy.label }}</h5>
          </li>
        {% endfor %}
      </ul>
    </div>
We will not dwell on this as you can view the whole process on the Jekyll website.
Site settings
Your site settings are configured from .forestry/settings.yml.
Forestry stores the settings and configuration of the CMS for each site in a .forestry/ folder in your site’s source code. This allows developers to create default configurations that can be shared between multiple sites, and to deliver source code with Forestry CMS pre-configured.
    new_page_extension: md
    auto_deploy: false
    admin_path: ''
    webhook_url:
    sections:
    - type: directory
      path: _data/careers
      label: Careers page
      create: all
      match: "**/*"
    - type: directory
      path: _data/services
      label: Services page
      create: all
      match: "**/*"
    upload_dir: _assets/images
    public_path: _assets/images
    front_matter_path: ''
    use_front_matter_path: false
    file_template: ":filename:"
Setup Forestry.io
Now the easy part is adding our CMS to our website. Before we get started head on over to Forestry.io and create your account. It’s free for personal use and allows you to add up to 3 users per website*.*
In the top right-hand corner of the page, click on Add Site*, *then simply select Other (Gridsome, Next, Nuxt…)for select your GitHub repository.
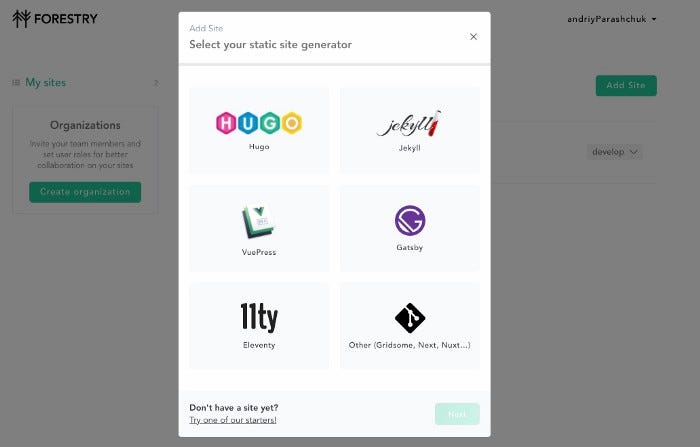
Select GitHub to continue work with your repositories.
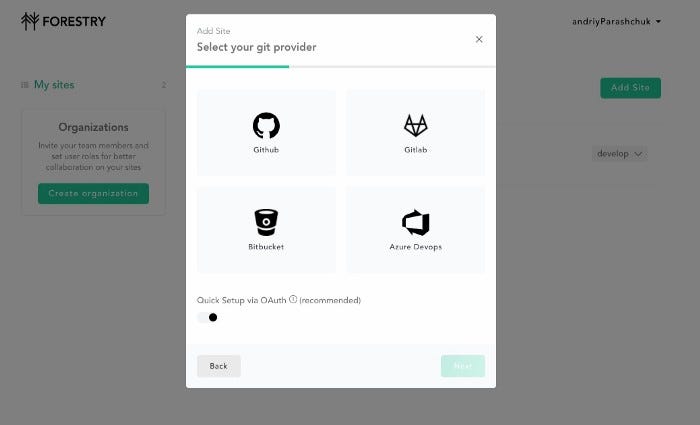
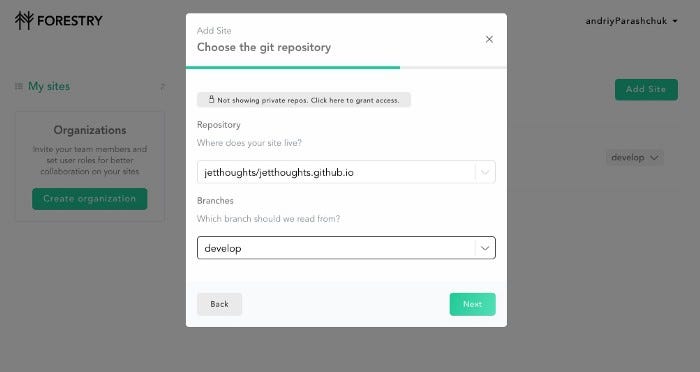
A browser window should then pop up asking for your credentials in order to authenticate. After authentication simply selects the repository that contains your project, NOT the one we use for GitHub Pages that contains your username.
Chose your Git provider to connect Forestry to your repository host.
After these steps, you should see importing your site.
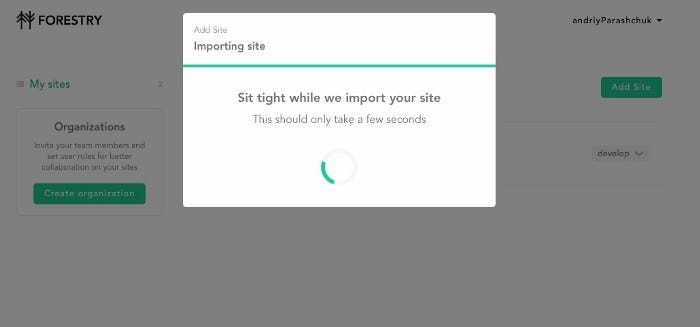
If it works as it should, Forestry will detect your configuration file settings.yml. (Note: When importing a new site, a .forestry/ folder will be added to your site’s source. Any changes made to your CMS’ configuration will be committed to your site’s source in this folder.)
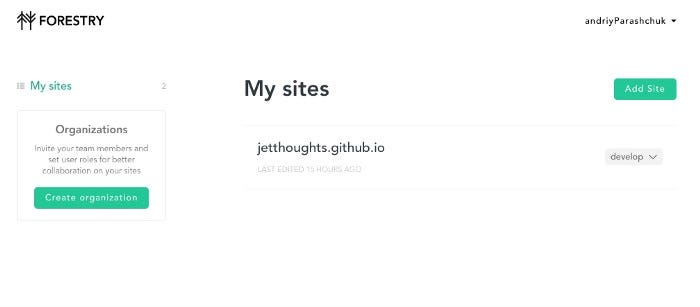
If you click on it, you will go to the admin page where you can edit the content and add media files.
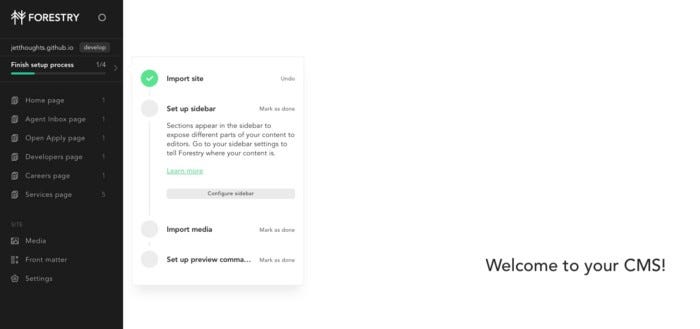
That is it! You now have a free, GitHub Pages hosted website using Jekyll and Forestry.io as your CMS. Just remember, that any changes you make using Forestry will auto-commit to your project repository, so don’t forget to git pull once you’re done editing your site content with Forestry.
GitHub Pages and CircleCI
You can use any other convenient way to deploy your site, but I think the easiest way is to place the site on GitHub and make auto-deploy with CircleCI. How to do it? I have already described this in my post.
Conclusion
I hope this simple guide to creating and setting up a free website will help you. Good luck!
Andriy Parashchuk is a Software Engineer at JetThoughts. Follow him on LinkedIn or GitHub.
If you enjoyed this story, we recommend reading our latest tech stories and trending tech stories.