How to start an Open Source project. Building RESO API JS client
Would you like to understand how to start your new Open Source project in a week? How to build a rapid development process and bootstrap your ideas faster?
In this post, you will understand the JetThoughts way of prototyping and testing of new ideas.

Kickoff #
Before starting the project, you need to discuss all the possible details with colleagues. You need to set a goal, form a plan, split the work, and prepare the project delivery. After the discussion, you’d understand what you want to get in a week.
Our goal was to deliver an Open Source project. And that’s how we did it:
Kickoff
Setup
Work decomposition
Documentation and Testing
Publishing
Set up the process visibility #
First of all, you would need to set up an Agile board to track your project progress. It will give you a big picture of the development process and will help to remove bottlenecks.

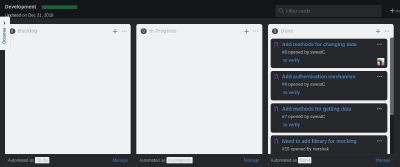
Discuss which tech stack you and your team will use, and add cards to the Backlog list with description, adding this technology in your project. In our case, it is Mocha and Nock for testing and Axios for making API calls.
Work decomposition #
After setting up basic dependencies you need to think of creating the tasks for the project itself. Each task should be self-descriptive, like here:
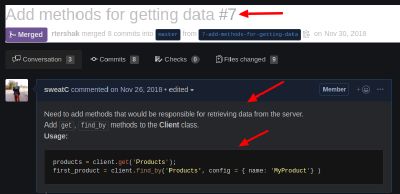
Come up with a good title, so that the person who works on the task would have a basic understanding of what is needed to be done. Task description which tells about the details and usage examples or expected results (it may be text, image or gif file) is always highly appreciated.
Documentation and Testing #
To easily use your project and onboard new developers, you need to provide the instruction of installation and further usage. Each feature that you intend to merge needs to have at least two things — Documentation and Tests.
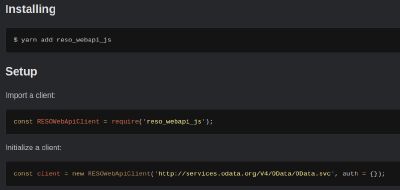
- Documentation — we just wrote specifications to the README file, like here:
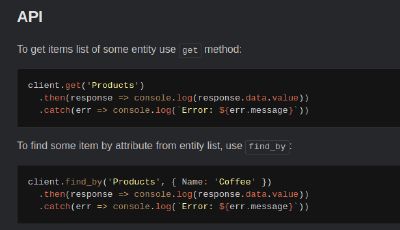
- Tests which cover this feature functionality (at least unit ones):
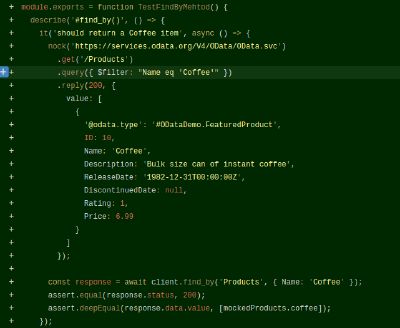
We stick to a customized test system by creating our own solution.
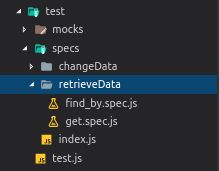
We have a test folder with all tests and mocks in it. We have a test.js file which runs our tests and specs/index.js file which matches each spec.
Each test set is called specs — represents tests for specific purposes like retrieving data. Each spec represents unit tests for a specific method like a get.spec.js file.
Publishing #
Once a basic version of our RESO API client is created, we have decided to publish it to npm. All code is available here: https://www.npmjs.com/package/reso_webapi_js
Paul Keen is an Open Source Contributor and a Chief Technology Officer at JetThoughts . Follow him on LinkedIn or GitHub .
If you enjoyed this story, we recommend reading our latest tech stories and trending tech stories .